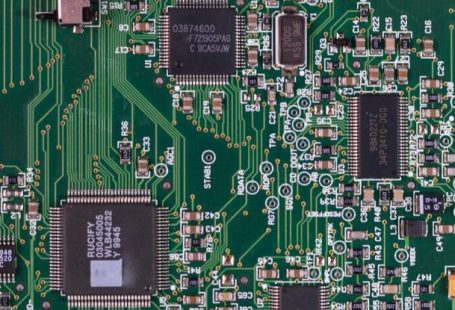
Building your own micro PC from scratch can be a rewarding and cost-effective endeavor for tech enthusiasts and DIYers. With the advancement of technology, creating a customized micro PC tailored to your specific needs and preferences has become more accessible than ever. In this guide, we will walk you through the process of building a micro PC from scratch, from selecting the components to assembling the final product.
Selecting the Components
The first step in building a micro PC is choosing the right components that will make up the core of your system. When selecting components, it is essential to consider the purpose of your micro PC, whether it’s for gaming, multimedia editing, or general productivity. Here are the key components you will need:
Processor (CPU): The processor is the brain of your micro PC and will determine its overall performance. Select a processor that meets your computing needs and is compatible with the motherboard you choose.
Motherboard: The motherboard serves as the foundation of your micro PC, connecting all the components together. Ensure that the motherboard is compatible with your chosen processor and has the necessary ports and features for your use case.
Memory (RAM): RAM is essential for multitasking and running applications smoothly. Choose the appropriate amount of RAM based on your computing requirements.
Storage: Decide whether you want a traditional hard drive for storage or a faster solid-state drive (SSD) for quicker boot times and application loading speeds.
Graphics Card (GPU): If you plan on gaming or performing graphics-intensive tasks, you will need a dedicated graphics card. Select a GPU that aligns with your performance needs.
Power Supply Unit (PSU): The PSU provides power to all the components in your micro PC. Choose a PSU with sufficient wattage and efficiency to support your system.
Case: The case houses all the components and determines the overall aesthetics of your micro PC. Select a case that accommodates your chosen components and fits your style preferences.
Assembling the Micro PC
Once you have gathered all the necessary components, it’s time to assemble your micro PC. Follow these steps to build your micro PC from scratch:
Prepare the Case: Start by removing the side panels of the case and locating the motherboard tray. Install the standoffs provided with your case to secure the motherboard in place.
Install the Processor: Carefully remove the processor from its packaging and align it with the socket on the motherboard. Gently lower the processor into place and secure it by closing the socket lever.
Mount the Motherboard: Carefully place the motherboard onto the standoffs in the case and align the mounting holes with the standoffs. Secure the motherboard using the screws provided with your case.
Install Memory and Storage: Insert the RAM modules into the memory slots on the motherboard, ensuring they are firmly seated. Install the storage drive(s) into the appropriate drive bays in the case.
Add the Graphics Card: If you have a dedicated graphics card, insert it into the PCIe slot on the motherboard and secure it with the retention bracket. Connect any power cables required for the GPU.
Connect Power Supply and Cables: Install the power supply unit into the case and connect the necessary power cables to the motherboard, CPU, GPU, and storage devices. Ensure all connections are secure.
Test and Boot Up: Double-check all connections and components before powering on your micro PC for the first time. If everything is in order, press the power button and proceed with the operating system installation.
Customizing and Personalizing
Once your micro PC is up and running, you can further customize and personalize it to suit your preferences. Install your favorite operating system, set up software applications, and adjust settings to optimize performance for your specific use case. Consider adding LED lighting, cable management solutions, and additional cooling options to enhance the aesthetics and functionality of your micro PC.
In conclusion, building a micro PC from scratch allows you to create a customized computing system that meets your specific needs and preferences. By carefully selecting components, assembling the system, and personalizing the final product, you can enjoy a unique and rewarding DIY experience in the world of technology. Embrace the challenge and creativity of building your own micro PC, and unleash the full potential of your custom-built system.


